Marie Callender’s Pie Crust Baking Instructions: A Comprehensive Guide
Unlocking the secrets to a perfectly baked pie crust is now easier than ever․ With Marie Callender’s ready-made pie shells, a delicious homemade pie is within reach․ These instructions will guide you․
Marie Callender’s pie crusts offer a convenient shortcut to homemade pies, allowing both novice and experienced bakers to create delicious desserts with ease․ These ready-made crusts are designed to mimic the flaky, buttery texture of a from-scratch pie crust, saving you valuable time and effort in the kitchen․ They provide a reliable foundation for sweet and savory pies, ensuring a consistent and satisfying result every time․
Whether you’re craving a classic apple pie, a creamy pumpkin pie, or a savory quiche, Marie Callender’s pie crusts offer a versatile base for your culinary creations․ Embracing convenience without sacrificing quality, these crusts are a staple for busy bakers․ They deliver the taste and texture of homemade goodness without the fuss, promising a delightful pie experience for all․
Types of Marie Callender’s Pie Crust
Marie Callender’s offers a selection of pie crust options to suit various baking needs and preferences․ The most common type is the traditional deep-dish pastry shell, perfect for classic pies with generous fillings․ These shells provide ample space for ingredients and ensure a hearty, satisfying pie․
Additionally, Marie Callender’s may offer variations such as a smaller pie crust size or a special crust with a slightly different flavor profile․ Some crusts come with a reusable baking pan for added convenience․ Regardless of the specific type, all Marie Callender’s pie crusts are made with a focus on creating a flaky and tender texture, providing a dependable base for your favorite pie recipes․ Be sure to check your local grocery store for availability․
Ingredients in Marie Callender’s Pie Crust
Marie Callender’s pie crusts are crafted using a blend of carefully selected ingredients to achieve their signature flaky and tender texture․ Enriched wheat flour forms the foundation, providing the necessary structure for the crust․ Shortening is a key component, contributing to the crust’s flakiness and delicate crumb․
Water is essential for binding the ingredients and creating the dough’s proper consistency․ Salt enhances the flavors and balances the sweetness of any fillings․ The precise recipe may include other ingredients depending on the specific type of crust․ It’s important to always check the product packaging for a comprehensive list of ingredients and allergen information to ensure it meets your dietary needs and preferences before baking․
Essential Baking Equipment
Achieving a perfectly baked pie crust requires the right tools․ First, you’ll need a reliable oven to ensure even heat distribution․ A standard 9-inch pie pan is ideal for Marie Callender’s crusts, and some crusts even come with a reusable pan! Measuring cups and spoons are essential for precise ingredient measurements․
A fork is necessary for pricking the crust to prevent it from puffing up during baking․ Consider pie weights or dried beans for blind baking to maintain the crust’s shape․ Oven mitts or pot holders will protect your hands from the heat․ A pie shield can prevent the edges from browning too quickly, ensuring a golden-brown crust․ Finally, a cooling rack is important for allowing the baked crust to cool evenly․
Preparing the Pie Crust for Baking
Before baking, proper preparation of your Marie Callender’s pie crust is crucial․ Thawing, pricking, and crimping are essential steps to ensure a flaky and delicious result․
Thawing Instructions
Proper thawing is key to achieving the perfect texture with Marie Callender’s pie crusts․ For optimal results, allow the frozen pie crust to thaw at room temperature for approximately ten minutes․ This brief thawing period softens the crust just enough for handling without making it too sticky or difficult to manage․
Alternatively, some recipes suggest that you can bake the crust directly from frozen, especially if pre-baking isn’t required․ However, defrosting generally yields better and more consistent results․ If you choose to bake from frozen, be sure to adjust the baking time accordingly․
Ensure the crust is pliable before moving on to the next steps․ Avoid thawing for extended periods․
Pricking the Crust
Pricking the pie crust is a crucial step in preventing it from puffing up unevenly during baking․ Use a fork to create small, evenly spaced holes across the bottom and sides of the crust․ These perforations allow steam to escape, ensuring a flat and even surface for your pie filling․
Without pricking, the steam trapped beneath the crust will cause it to bubble and rise, potentially leading to a misshapen or cracked crust․ Pay special attention to the bottom of the crust․ Ensure that every area is pricked adequately․
This simple step is essential, especially when blind baking․ Pricking guarantees a professional-looking pie․
Crimping the Edges
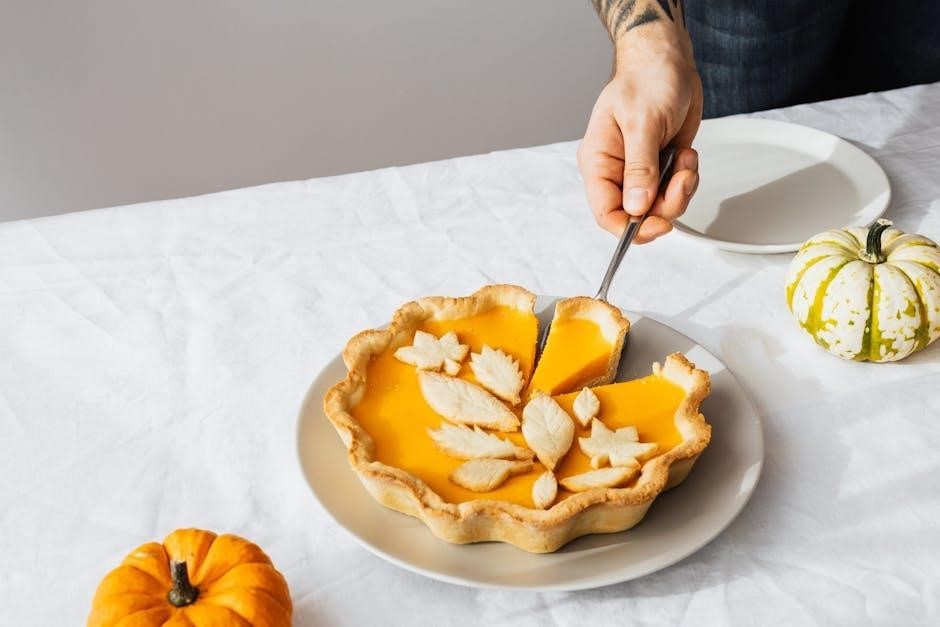
Crimping the edges of your pie crust not only enhances its visual appeal but also helps to seal the filling inside, preventing it from leaking out during baking․ There are several ways to crimp a pie crust, from the classic fork method to more elaborate finger techniques․
For a simple crimp, use a fork to press down along the edge of the crust, creating a decorative pattern․ Alternatively, you can use your fingers to pinch and fold the crust inward, creating a scalloped effect․ Ensure the crimps are consistent in size and spacing for a uniform look․
The crimped edge provides a barrier․ This keeps the filling contained and preventing a soggy crust․
Baking Instructions for Marie Callender’s Pie Crust
Achieving a golden, flaky crust requires careful attention to oven temperature and baking time․ Follow these instructions for optimal results with your Marie Callender’s pie crust․
Oven Temperature
The oven temperature plays a crucial role in baking Marie Callender’s pie crust to perfection․ For a pre-baked crust, a temperature of 400°F (200°C) is generally recommended․ This allows the crust to bake evenly and develop a golden-brown color without burning․ When baking a filled pie, the temperature may need to be adjusted slightly depending on the filling․
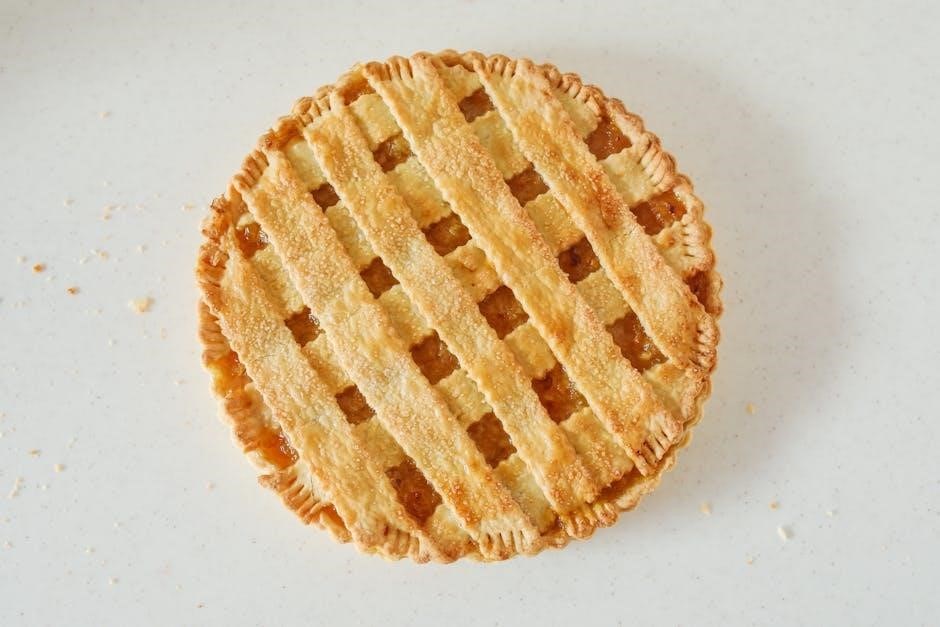
For fruit pies, maintaining a consistent temperature is key to ensuring the filling cooks through while the crust remains crisp․ Some recipes suggest starting at a higher temperature (e․g․, 425°F) for the first 15-20 minutes to set the crust, then reducing it to 375°F for the remainder of the baking time․ This helps prevent a soggy bottom crust․
For custard or cream pies, a lower temperature (e․g․, 350°F) may be necessary to prevent the filling from curdling or cracking․ Always refer to your specific pie recipe for the most accurate temperature guidelines․ Using an oven thermometer can help ensure your oven is accurately calibrated for consistent baking․
Baking Time
The baking time for Marie Callender’s pie crust varies depending on whether you’re blind baking or baking with a filling․ For blind baking, the crust typically requires 12-15 minutes in a preheated oven at 400°F (200°C)․ However, this can change based on desired level of browning․
When baking with a filling, the baking time will depend on the specific recipe․ Fruit pies may take 35-50 minutes, while custard pies might need 45-60 minutes at a lower temperature․ It’s essential to monitor the pie closely and check for doneness․ The crust should be golden brown and the filling should be set․
For a pre-baked crust, baking time varies․ If the crust starts to brown too quickly, use a pie shield or aluminum foil to protect the edges․ A toothpick inserted into the center of the filling should come out clean when the pie is done․
Blind Baking the Crust
Blind baking is essential for pies with fillings that don’t require baking, such as cream or custard pies․ To blind bake a Marie Callender’s pie crust, begin by thawing the crust for about ten minutes․ Prick the bottom and sides thoroughly with a fork to prevent puffing․
Line the crust with parchment paper and fill with pie weights or dried beans to keep the crust from shrinking․ Bake in a preheated oven at 400°F (200°C) for 12-15 minutes․ Remove the parchment paper and weights, then bake for another 5-10 minutes until the crust is golden brown․
Allow the crust to cool completely before adding your filling․ This method ensures a crisp, fully baked crust that won’t become soggy when filled․ Adjust baking time depending on your crust’s browning․
Troubleshooting Common Baking Issues
Even with the best intentions, baking issues can arise․ Let’s explore common problems like crust shrinking, soggy bottoms, and uneven baking․ Discover solutions for a perfect pie every time․
Crust Shrinking
Crust shrinking during baking is a frustrating problem, but understanding the causes can help prevent it․ One primary reason is gluten development․ Overworking the dough activates gluten, leading to a crust that contracts when heated․ To avoid this, handle the Marie Callender’s pie crust gently, minimizing excessive rolling or stretching․
Another factor is the lack of fat or moisture in the dough․ Fat inhibits gluten development, while moisture helps maintain the crust’s shape․ Ensure the crust is properly thawed but not overly warm, which can melt the fat․
Baking at too high a temperature can also cause the crust to shrink rapidly․ Start with a slightly lower temperature and monitor closely․ Finally, proper docking (pricking with a fork) helps release steam, preventing the crust from puffing up and shrinking․ By addressing these issues, you can achieve a stable and beautifully shaped pie crust․
Soggy Bottom Crust
A soggy bottom crust is a common pie-baking woe, but several techniques can help achieve a crisp, golden base․ Blind baking is crucial for pies with wet fillings․ Pre-baking the Marie Callender’s pie crust partially before adding the filling creates a barrier against moisture․
Another effective method is using a hot baking sheet․ Placing the pie on a preheated baking sheet in the oven helps the bottom crust cook faster and more evenly․ You can also brush the bottom crust with a thin layer of egg white before adding the filling to create a moisture-resistant seal․
Ensure the oven temperature is accurate and avoid overcrowding the oven, which can lower the temperature and hinder baking․ Lastly, allow the pie to cool completely on a wire rack after baking․ This allows air to circulate and prevent moisture from accumulating underneath, resulting in a perfectly crisp bottom crust․
Uneven Baking
Uneven baking can result in a pie crust that is burnt in some areas and undercooked in others․ Several factors contribute to this issue, and addressing them can lead to a more uniformly baked crust․
One primary cause is an uneven oven temperature․ Using an oven thermometer to verify the accuracy of your oven’s temperature is essential․ Rotating the pie halfway through baking helps to ensure even heat distribution․ Also, using a pie shield, especially on Marie Callender’s delicate crust, prevents the edges from burning before the center is fully baked․
Another factor is the pie pan itself․ Glass or ceramic pans heat more evenly than metal pans․ Placing the pie on the center rack of the oven is crucial for consistent baking․ If using a metal pan, consider using a double layer of baking sheets to insulate the bottom of the crust․
Tips for a Perfect Pie Crust
Achieving pie crust perfection involves several techniques․ Using a pie shield, applying an egg wash, and proper cooling are essential steps for a golden, evenly baked, and structurally sound crust․
Using a Pie Shield
A pie shield is an invaluable tool when baking pies, especially those with longer baking times․ Its primary purpose is to prevent the pie crust edges from burning or becoming overly brown before the filling is fully cooked․ This simple device, typically made of aluminum foil or silicone, sits around the circumference of the pie, shielding the delicate crust from direct heat․
Using a pie shield is straightforward․ Simply place it over the pie once the crust edges begin to brown sufficiently, usually after about half of the total baking time has elapsed․ The shield acts as a barrier, deflecting heat away from the edges while allowing the filling to continue baking evenly․
If you don’t have a commercially made pie shield, you can easily create one using aluminum foil․ Cut a circle of foil slightly larger than the pie, fold it in half, and then in half again․ Cut out the center, leaving a ring that fits snugly around the pie’s edge․ This homemade version works just as effectively to protect your crust․
Egg Wash for Golden Crust
Achieving a beautifully golden and glossy pie crust is easier than you might think, and the secret lies in a simple egg wash․ An egg wash is a mixture of beaten egg (either whole, yolk only, or white only) and a liquid, such as water or milk, brushed onto the crust before baking․ This technique not only enhances the crust’s color but also adds a subtle sheen and helps to seal the surface, preventing it from becoming soggy․
To prepare an egg wash, whisk together one egg (or yolk or white) with a tablespoon of water or milk․ For a richer color, use only the yolk․ For a crispier crust, use only the white․ Before placing the pie in the oven, gently brush the egg wash evenly over the entire surface of the crust, being careful not to let it pool․
The egg wash will create a beautiful, golden-brown crust that is visually appealing and adds to the overall taste experience․
Cooling the Crust Properly
Cooling the pie crust properly after baking is a crucial step in ensuring its final texture and preventing it from becoming soggy or losing its crispness․ Once the pie crust has reached a beautiful golden-brown color in the oven, remove it carefully and place it on a wire rack to cool completely․
Allowing the crust to cool on a wire rack promotes airflow around the entire pie, preventing condensation from forming underneath; This step helps maintain the crust’s desired crispness․ Avoid cooling the crust directly on a solid surface, as this can trap moisture and lead to a soggy bottom․
The cooling process typically takes one to two hours, depending on the filling and the ambient temperature․ Resist the urge to cut into the pie until it has fully cooled, as this allows the filling to set properly and prevents it from running․
Pie Filling Suggestions
The flaky goodness of Marie Callender’s crust begs for delightful fillings․ Consider classic sweet options or explore savory delights․ The possibilities are endless, transforming your pie into a culinary masterpiece․
Sweet Pie Fillings
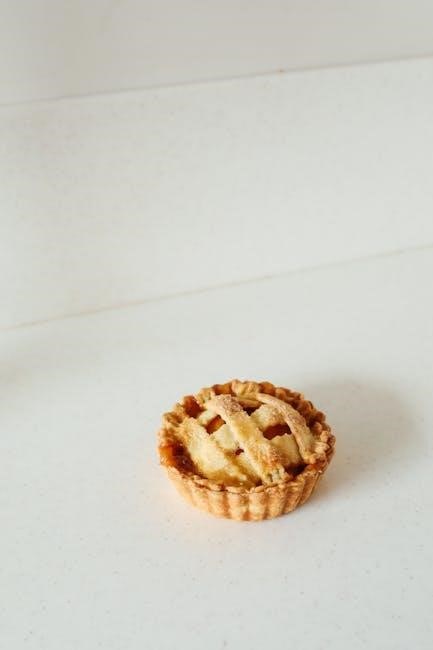
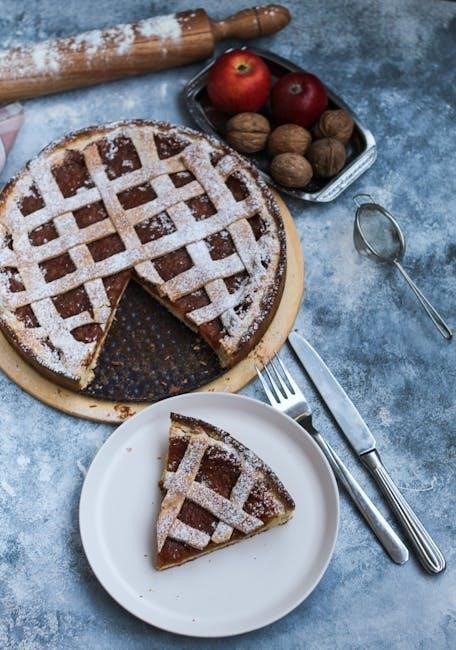
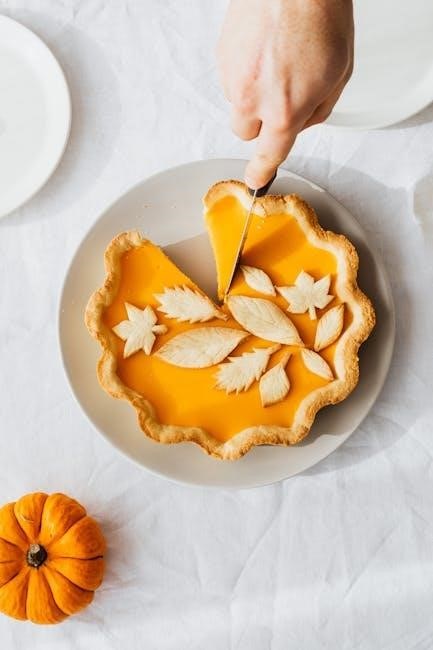
For those with a sweet tooth, Marie Callender’s pie crust provides the ideal foundation for a myriad of delectable sweet fillings․ Consider the timeless appeal of classic apple pie, its warm cinnamon notes complementing the flaky crust․ Peach pie, especially when made with freshly peeled peaches, offers a summery burst of flavor․ Pumpkin pie, a Thanksgiving staple, delivers a comforting and spiced experience․
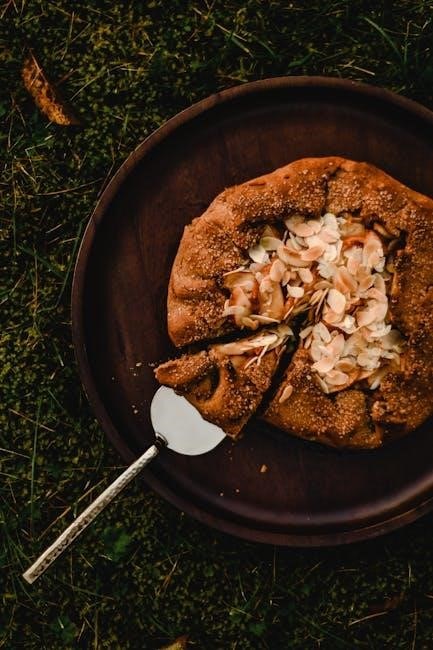
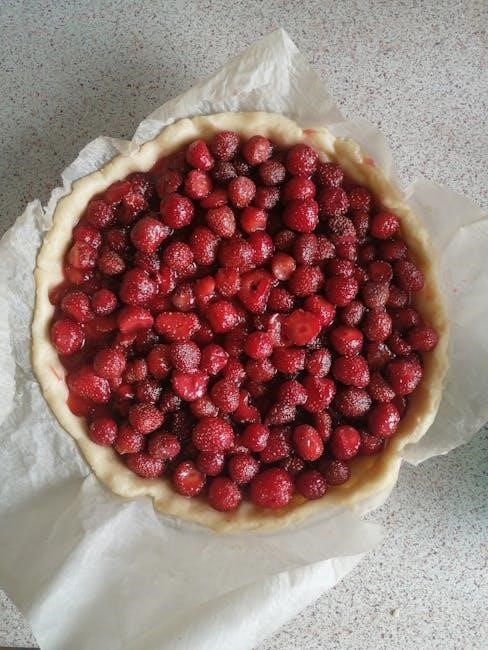
Rhubarb cream pie, perhaps with an almond crumb crust variation, presents a unique and tangy-sweet combination․ Don’t forget the simple elegance of a berry pie, showcasing the natural sweetness of seasonal fruits․ For a richer indulgence, explore chocolate or pecan pie options․ These fillings transform your pie into a memorable dessert․ Always ensure your filling complements the crust’s delicate flavor․
Savory Pie Fillings
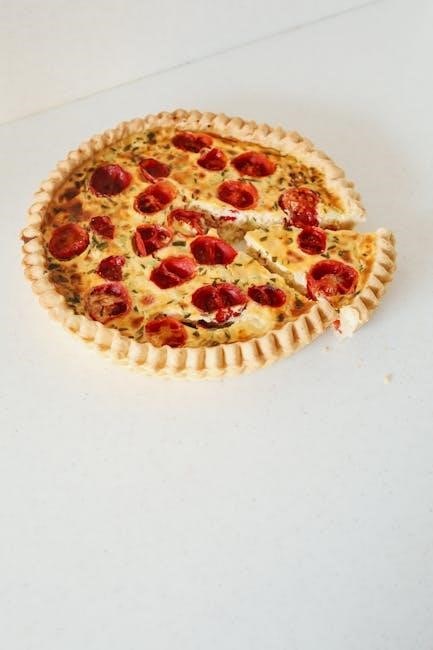
Beyond the realm of sweet treats, Marie Callender’s pie crust lends itself beautifully to savory creations․ Think of a hearty chicken pot pie, filled with tender chicken, vegetables, and a creamy sauce, encased in a golden crust․ Quiche, with its custardy base and customizable fillings like spinach, cheese, and bacon, offers a sophisticated brunch or light meal option․
Consider a shepherd’s pie, featuring a savory meat filling topped with mashed potatoes and baked to perfection․ Lamb pie, perhaps with a touch of chili powder for warmth, provides a flavorful and satisfying dish; Vegetable pies, showcasing seasonal produce like mushrooms, zucchini, and tomatoes, offer a vegetarian delight․ Experiment with different herbs and spices to create unique savory pie experiences that will surprise and delight․
Storing Baked Pies
Proper storage is essential to maintain the quality and flavor of your freshly baked pie․ For pies containing dairy or eggs, refrigeration is a must․ Allow the pie to cool completely at room temperature before covering it loosely with plastic wrap or foil․ This prevents condensation from forming, which can lead to a soggy crust․ Refrigerate for up to two to three days․
Fruit pies, on the other hand, can often be stored at room temperature for a day or two, as long as they are covered․ If you want to store them for longer, refrigerate them as well․ For extended storage, consider freezing the pie․ Wrap it tightly in several layers of plastic wrap and then in foil․ Frozen pies can last for up to two months․ Thaw in the refrigerator before serving․
Mastering the art of baking with Marie Callender’s pie crusts opens a world of delicious possibilities․ From understanding the nuances of thawing to perfecting the crimping technique, each step contributes to the ultimate pie experience․ Remember, a golden, flaky crust is the foundation of any memorable pie, whether sweet or savory․
By following these comprehensive instructions and helpful tips, you can confidently create pies that are sure to impress․ Embrace the convenience and quality of Marie Callender’s crusts, and let your culinary creativity shine․ So, gather your ingredients, preheat your oven, and embark on a pie-baking adventure! Enjoy the process and savor the delightful results․