The Canon Rebel XTi, also known as the EOS 400D, is a popular DSLR camera, widely supported by comprehensive instruction manuals and field guides for aspiring photographers.
What is the Canon Rebel XTi?
The Canon Rebel XTi (EOS 400D) is a 10.1-megapixel digital single-lens reflex (DSLR) camera, released in 2006. It quickly gained popularity as an accessible entry point into the world of DSLR photography. Numerous resources, including detailed instruction manuals available online via ManualsLib, and comprehensive field guides like Charlotte K. Lowrie’s book on Amazon, cater to users seeking to master its features.
This camera boasts a user-friendly interface, making it ideal for beginners, while still offering enough manual control to satisfy more experienced photographers. The availability of extensive documentation ensures users can fully utilize its capabilities, from understanding basic settings to exploring advanced techniques.
Target Audience for this Manual
This manual is designed for both novice and intermediate photographers venturing into the realm of DSLR photography with the Canon Rebel XTi (EOS 400D). It caters to individuals seeking a comprehensive understanding of the camera’s functions, from initial setup to advanced shooting techniques.
Whether you are a complete beginner or have some prior photography experience, this guide provides step-by-step instructions and clear explanations. Resources like the Canon Eos Rebel Xti Manual user guide aim to support all users, offering assistance with installation, operation, and maintenance, ensuring a smooth learning curve and optimal camera performance.

Camera Components and Controls
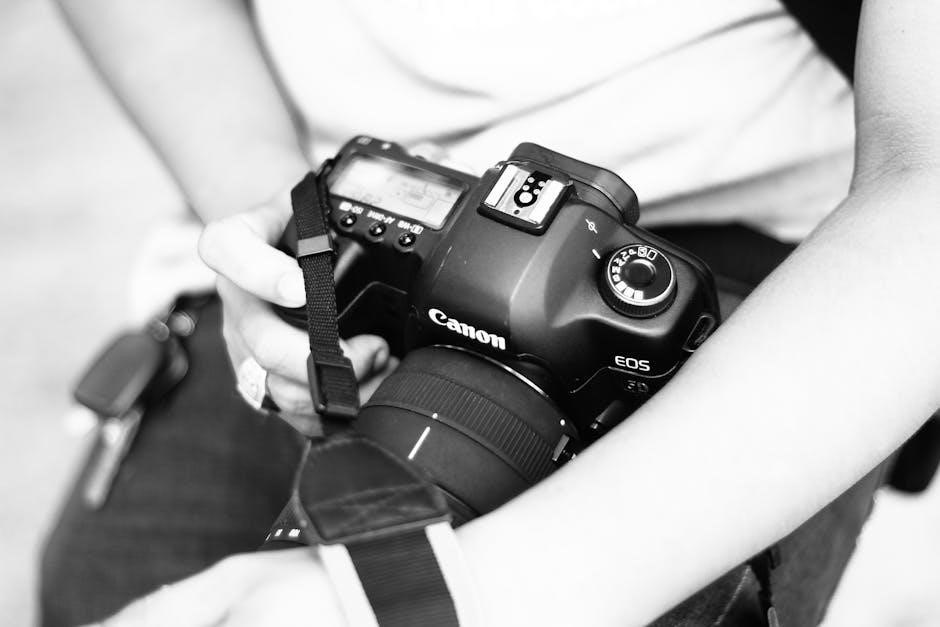
Understanding the Canon Rebel XTi’s physical layout is crucial; the instruction manual details each button, dial, and panel for effective camera operation.
Front Panel Features
The Canon Rebel XTi’s front panel houses essential controls, thoroughly explained within the instruction manual. You’ll find the lens release button, crucial for swapping lenses, and the depth-of-field preview lever, allowing visualization of aperture effects. The autofocus point selection/AF area mode button is also prominently located, enabling precise focus control.
Furthermore, the manual details the function of the built-in flash release button, and the remote control receiver. Understanding these features is key to mastering manual focusing and achieving optimal image sharpness. The instruction manual provides diagrams and clear explanations for each component, ensuring users can confidently navigate and utilize the front panel’s functionalities.
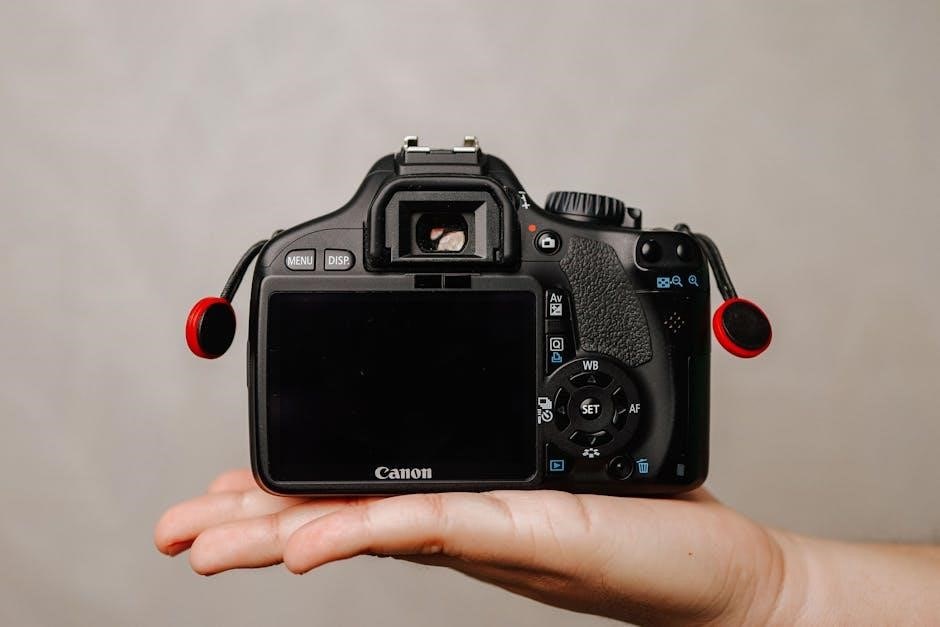
Rear Panel Features
The Canon Rebel XTi’s rear panel is the command center, detailed extensively in the instruction manual. Key features include the LCD screen for image review and menu navigation, and the cross-key controller for menu selection and settings adjustments. The ‘Set’ button confirms selections, while the ‘Disp’ button toggles display information.
The manual clarifies the purpose of the ‘Live View’ button (if applicable with firmware updates), and the AE-L/AF-L lock button for exposure and focus control. Understanding the ‘Menu’ button’s function is vital for customizing camera settings. Diagrams within the manual illustrate each button’s location and function, aiding quick and efficient operation.
Top Panel Features
The Canon Rebel XTi’s top panel houses essential controls, thoroughly explained in the instruction manual. The power switch initiates camera operation, while the main dial selects shooting modes – Auto, Program, Shutter Priority, Aperture Priority, and Manual. The shutter button activates image capture, and the control dial adjusts settings within selected modes.
The manual details the function of the mode dial lock to prevent accidental changes. It also clarifies the purpose of the exposure compensation dial, crucial for adjusting brightness. Diagrams illustrate the location of each control, and the manual provides step-by-step guidance on their usage for optimal photographic results.
Button and Dial Functions
The Canon Rebel XTi’s instruction manual meticulously details each button and dial’s function. The SET button confirms menu selections, while the directional buttons navigate menus and select focus points. The AF point selection/FE lock button controls autofocus behavior, and the depth-of-field preview lever simulates aperture effects.
The manual explains how the Quick Control button provides direct access to key settings. It clarifies the purpose of the DISP button, toggling information displayed on the LCD screen. Diagrams illustrate button locations, and detailed explanations guide users through customizing settings via dials for precise control over image capture.
Setting Up Your Camera
The Canon Rebel XTi instruction manual guides users through initial setup, including battery and memory card insertion, and configuring essential settings for optimal performance.
Inserting the Battery and Memory Card
The Canon Rebel XTi manual details a straightforward process for battery installation. Locate the battery compartment, typically on the bottom of the camera, and ensure the camera is powered off. Insert the battery pack, aligning the metal contacts and sliding it into place until it clicks securely.
Next, insert a compatible memory card – often a CompactFlash (CF) card – into the designated slot. Gently push the card in until it locks, and avoid forcing it. The manual emphasizes proper insertion to prevent damage to the card or camera. Always eject the card correctly before removal, using the camera’s release mechanism.
Initial Camera Settings (Date, Time, Language)
The Canon Rebel XTi manual guides users through essential initial setup steps. Upon first powering on, the camera prompts you to set the date, time, and preferred language. Use the directional buttons and the SET button to navigate the menus and make your selections.
Accurate date and time settings are crucial for proper image file organization and metadata. The language setting ensures the camera’s menu and display are in a comfortable and understandable format. Following these initial steps personalizes the camera and prepares it for optimal use, as detailed in the instruction manual.
Choosing a Shooting Mode
The Canon Rebel XTi instruction manual details various shooting modes, catering to different skill levels and photographic scenarios. Beginners can start with the fully automatic ‘Auto’ mode, letting the camera handle all settings. More experienced users can explore ‘Program’ (P), ‘Shutter Priority’ (Tv), ‘Aperture Priority’ (Av), and ‘Manual’ (M) modes.
Each mode offers increasing control over camera settings like aperture, shutter speed, and ISO. The manual clearly explains the function of each mode, helping users understand how to achieve desired creative effects. Selecting the appropriate mode is fundamental to capturing high-quality images.

Understanding Shooting Modes
The Canon Rebel XTi manual thoroughly explains each shooting mode, from fully automatic options for beginners to advanced manual controls for experienced photographers.
Auto Mode (Full Auto)
Auto Mode on the Canon Rebel XTi simplifies photography for beginners, allowing the camera to handle all settings – aperture, shutter speed, ISO, and white balance. The instruction manual details how this mode intelligently analyzes the scene, selecting optimal parameters for well-exposed images. It’s ideal for everyday snapshots and situations where quick results are prioritized over creative control.
Users should consult the manual to understand limitations; Auto Mode may not always produce the desired results in challenging lighting or with specific subjects. However, it provides a fantastic starting point for learning the fundamentals without being overwhelmed by technical details. The manual also explains the flash settings within Auto Mode.
Program Mode (P)
Program Mode (P) on the Canon Rebel XTi offers a balance between automatic operation and user control, as detailed in the instruction manual. The camera sets both aperture and shutter speed, but allows adjustments to other settings like ISO, white balance, and flash. This mode is excellent for situations requiring more flexibility than full Auto, yet still providing assistance with exposure.
The manual explains how to use Program Shift, enabling users to slightly alter the camera’s chosen aperture/shutter speed combination while maintaining proper exposure. This allows for creative control over depth of field or motion blur. Program Mode is a stepping stone towards more manual control.
Shutter Priority Mode (Tv)
Shutter Priority Mode (Tv) on the Canon Rebel XTi, as explained in the instruction manual, allows photographers to directly control the shutter speed, while the camera automatically adjusts the aperture for correct exposure. This is ideal for capturing motion – freezing action with fast shutter speeds or creating motion blur with slower ones.
The manual details how to select shutter speeds ranging from 30 seconds to 1/4000th of a second. Understanding the relationship between shutter speed and aperture is crucial, and the guide provides insights into achieving desired effects. Tv mode is perfect for sports, wildlife, or any dynamic scene.
Aperture Priority Mode (Av)
The Canon Rebel XTi’s Aperture Priority (Av) mode, detailed in the instruction manual, empowers photographers to control the lens aperture, influencing depth of field, while the camera automatically sets the shutter speed for proper exposure. A wider aperture (lower f-number) creates a shallow depth of field, ideal for portraits with blurred backgrounds.
Conversely, a narrower aperture (higher f-number) maximizes depth of field, suitable for landscapes where sharpness throughout the scene is desired. The manual explains how to select apertures and understand their impact on image aesthetics. Av mode offers creative control over focus and background separation.
Manual Mode (M)
The Canon Rebel XTi’s Manual (M) mode, thoroughly explained in the instruction manual, grants photographers complete control over both aperture and shutter speed, demanding a strong understanding of the exposure triangle. This mode is ideal for challenging lighting conditions or when a specific creative effect is desired, bypassing the camera’s automatic settings.
The manual details how to adjust these settings independently, utilizing the camera’s light meter to achieve proper exposure. Mastering Manual mode unlocks full creative potential, allowing precise control over depth of field, motion blur, and overall image appearance. It requires practice, but offers ultimate flexibility.
Focusing and Image Quality
The Canon Rebel XTi manual details autofocus modes, focus point selection, and image quality settings, including RAW versus JPEG options for optimal results.
Autofocus Modes (One-Shot, AI Servo, AI Focus)
The Canon Rebel XTi instruction manual thoroughly explains the three autofocus modes available to the photographer. One-Shot is ideal for stationary subjects, locking focus when the shutter button is half-pressed. AI Servo continuously tracks moving subjects, maintaining focus as they change position – perfect for sports or wildlife.
AI Focus intelligently switches between One-Shot and AI Servo, attempting to predict subject movement. The manual details how to select the appropriate mode based on the shooting scenario, ensuring sharp and well-focused images. Understanding these modes is crucial for capturing clear photos, and the guide provides practical examples for each.
Focus Point Selection
The Canon Rebel XTi instruction manual dedicates a section to mastering focus point selection. This camera offers nine autofocus points, allowing precise control over where the camera focuses within the frame. The manual explains how to manually select a specific focus point, or utilize automatic selection modes.
It details the benefits of choosing a focus point directly on your subject for critical sharpness, versus relying on automatic selection. Understanding how to navigate and adjust these points is vital for achieving consistently sharp images, particularly when shooting portraits or subjects with intricate details. The guide provides visual aids to clarify the process.
Image Quality Settings (RAW vs. JPEG)
The Canon Rebel XTi instruction manual thoroughly explains the crucial distinction between RAW and JPEG image formats. It details that JPEG files are compressed, resulting in smaller file sizes but some loss of image data. Conversely, RAW files retain all data captured by the sensor, offering maximum flexibility for post-processing and editing.
The manual guides users on when to choose each format – JPEG for quick sharing and convenience, and RAW for professional-level editing and archival purposes. It also clarifies the increased storage space requirements of RAW files and the software needed to process them effectively, empowering informed decisions.
ISO Settings and Noise Reduction
The Canon Rebel XTi’s instruction manual dedicates significant attention to ISO settings and their impact on image noise. It explains how increasing the ISO enhances sensitivity in low-light conditions, but simultaneously introduces digital noise – graininess that degrades image quality. The manual details the XTi’s ISO range and provides guidance on selecting appropriate settings for various shooting scenarios.
Furthermore, it outlines the camera’s built-in noise reduction features, explaining how they can mitigate noise at higher ISO levels. Users learn to balance noise reduction strength with detail preservation, achieving optimal results based on their creative vision and the specific image content.
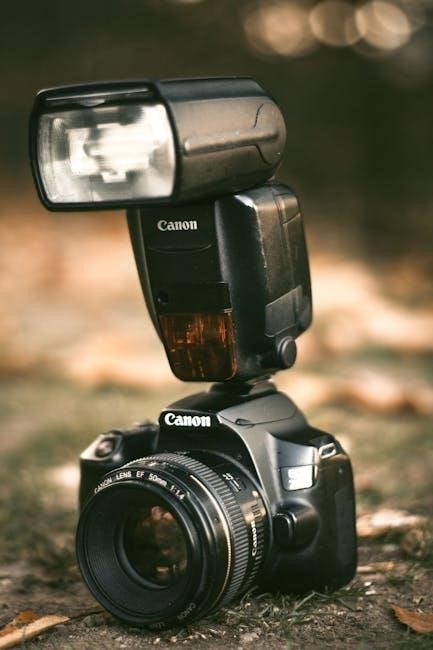
Using the Built-in Flash
The Canon Rebel XTi manual thoroughly covers flash functionality, detailing auto, fill-in, and red-eye reduction modes for versatile lighting control in diverse photographic situations.
Flash Modes (Auto, Fill-in, Red-eye Reduction)
The Canon Rebel XTi’s built-in flash offers several modes to suit various shooting scenarios. Auto mode lets the camera decide when to fire the flash, ideal for general photography. Fill-in flash provides extra light, brightening shadows in backlit situations, ensuring well-exposed subjects.
Red-eye reduction mode emits a series of pre-flashes to constrict pupils, minimizing the red-eye effect often seen in portraits. The instruction manual details how each mode impacts image quality and provides guidance on selecting the optimal setting for different lighting conditions and subject matter. Understanding these modes is crucial for achieving properly lit and visually appealing photographs with the XTi.
Flash Exposure Compensation
The Canon Rebel XTi allows for flash exposure compensation, providing precise control over the flash’s output. This feature is essential when the camera’s automatic flash settings don’t deliver the desired results. The instruction manual explains how to adjust the flash exposure in plus or minus steps, brightening or darkening the flash’s effect.
This is particularly useful in challenging lighting, such as when photographing reflective surfaces or subjects against a bright background. Mastering flash exposure compensation ensures properly exposed images, preventing blown-out highlights or overly dark shadows. The manual details how to access and utilize this function effectively for optimal photographic outcomes.
Navigating the Menu System
The Canon Rebel XTi’s menu system is key to customization; the instruction manual guides users through categories, offering options to personalize camera settings and functions.
Customizing Menu Options
The Canon Rebel XTi’s menu system allows for extensive personalization, detailed within the instruction manual. Users can tailor settings to their shooting style and preferences. This includes adjusting image quality parameters – choosing between RAW and JPEG formats – and configuring autofocus behavior for different subjects.
Furthermore, the manual explains how to customize display settings, such as the information overlay and LCD brightness. You’ll find options to modify date/time formats, language preferences, and even the button functions themselves. Understanding these options empowers photographers to optimize the camera for specific scenarios, enhancing their creative control and workflow efficiency. The manual provides step-by-step guidance for each customization.
Understanding Menu Categories
The Canon Rebel XTi’s menu is logically organized into several key categories, thoroughly explained in the instruction manual. These include shooting settings, which control image capture parameters like ISO, white balance, and picture style. A separate category manages autofocus and drive settings, allowing precise control over focusing modes and continuous shooting.
Setup menus cover essential camera configurations like date, time, and display options. Playback settings dictate how images are reviewed on the LCD screen. Finally, a custom functions section enables personalized button assignments. The manual details each category, clarifying the function of every setting for a streamlined user experience.

Troubleshooting Common Issues
The Canon Rebel XTi manual addresses frequent problems, like error messages and image quality concerns, offering clear solutions for a smooth photographic experience.
Error Messages and Solutions
The Canon Rebel XTi’s instruction manual dedicates a section to deciphering error messages, a crucial aspect of troubleshooting. Common errors, such as “Err 90” (indicating a shutter mechanism issue or mirror lock-up problem) are explained with potential fixes. The manual guides users through checking the battery, memory card, and lens connections as initial steps.
It also details solutions for errors related to image storage, like a full memory card or write-protection being enabled. Furthermore, the manual provides guidance on addressing communication errors between the camera and lens, suggesting cleaning the contacts. Understanding these error codes and their corresponding solutions empowers users to resolve issues independently and minimize downtime.
Image Quality Problems and Fixes
The Canon Rebel XTi instruction manual addresses common image quality concerns, offering practical solutions. Issues like blurry photos are linked to improper focusing or slow shutter speeds, prompting users to review autofocus settings and ISO levels. The manual explains how noise, particularly at higher ISOs, can be mitigated through noise reduction settings within the camera.
It also details how to adjust white balance for accurate color rendition and provides guidance on correcting over or underexposed images using exposure compensation. Furthermore, the manual clarifies the impact of RAW versus JPEG settings on image detail and editing flexibility, helping users choose the optimal format for their needs.